Master Your Push Up: Unlock Upper-Body Power for Hockey
This article was originally posted on hockeytraining.com
The push-up is often labeled as a “basic” upper-body movement. And while it might be foundational, it’s also one of the most commonly butchered exercises I see—especially among hockey players.
Whether you're working through isometric holds for tissue length at the beginning of your off-season, adding weight to build more strength, or performing clap push-ups for power later in your off-season, the same principles apply. If you're not dialed in on technique, you're not getting the full benefit. Even worse, you might be reinforcing poor mechanics that will negatively impact your game.
Let’s break it down and build a push-up that actually translates to hockey performance.
Head Position
One of the most overlooked aspects of push-up mechanics is where your head is during the movement. A lot of athletes will tuck their chin too far, staring down at their toes. Others will overcorrect, cranking their neck up to look straight ahead at a mirror to check their form. Or, the least thought of, wearing a hat forwards so when you reach the bottom, you have to extend the neck or else the brim of the hat will hit the ground.
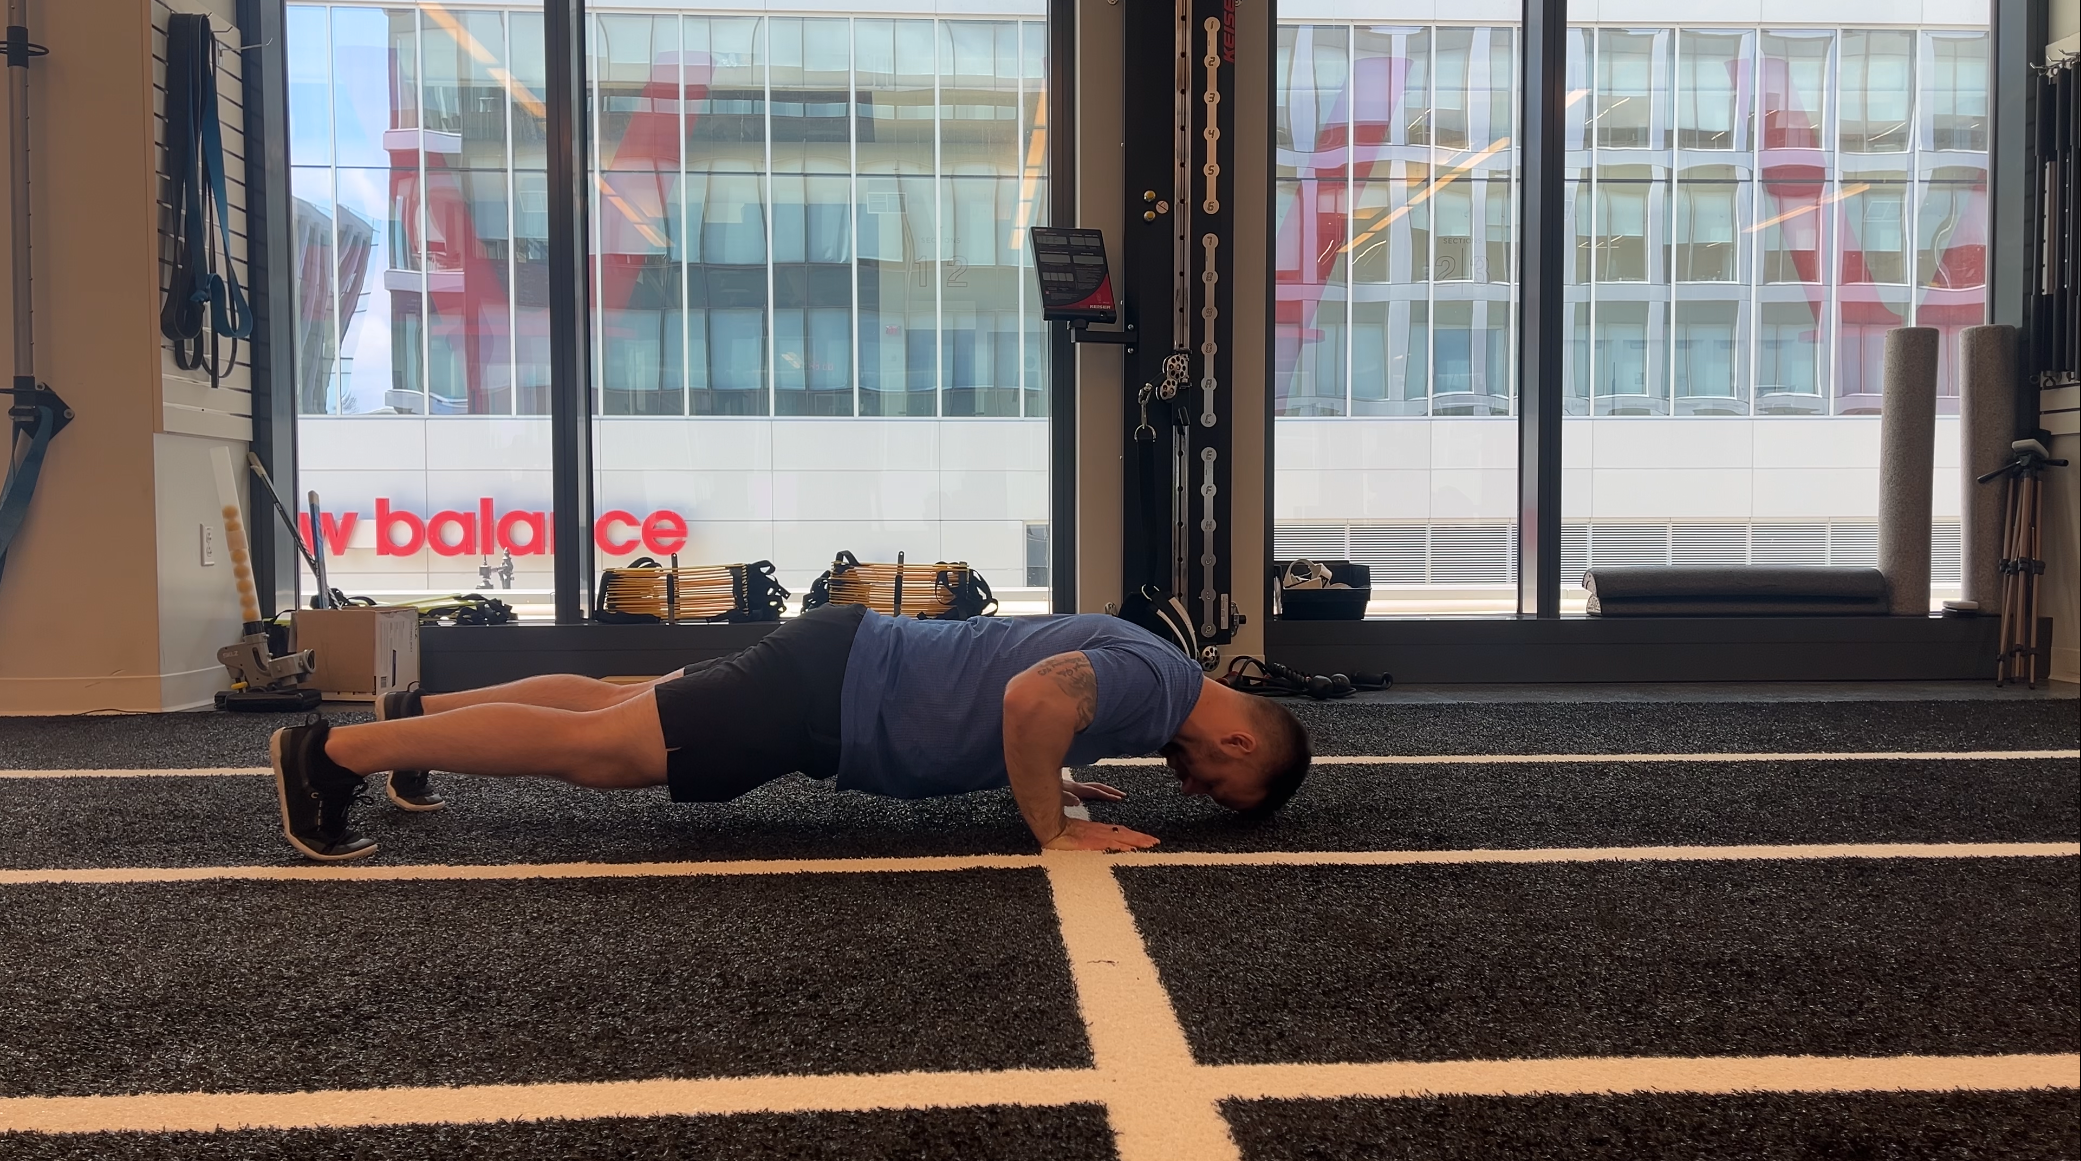
Staring at your toes at the bottom

Looking in a mirror at the top
All of these extremes throw off the alignment of the cervical spine. That misalignment travels downstream, affecting the thoracic spine, destabilizing the scapula, and ultimately reducing the efficiency of the push-up.
The fix? Think about making a double chin to pack the neck. From there, your eyes should gaze roughly a foot in front of your hands on the floor. This keeps the spine in a more natural alignment: slight lordosis (arching) in the cervical spine, slight kyphosis (rounding) in the thoracic, and slight lordosis again in the lumbar.
Many people mistake a “neutral” spine as a perfectly straight spine from your tailbone to your skull. In reality, there should be a slight arching of your neck and lower back, allowing for a slight rounding of the upper back.
Pelvis Position
Before I talk about why a kyphotic thoracic spine stabilizes the scapula, let’s talk about how pelvis positioning can affect it upstream (similar to the head downstream).
A common trait of people in general, but especially hockey players, is an over-extended lumbar spine (lower back). This can actually be a good thing for powerful, triple extension exercises like sprinting and jumping. But, for exercises like the push up, we want to return to more of a neutral position.
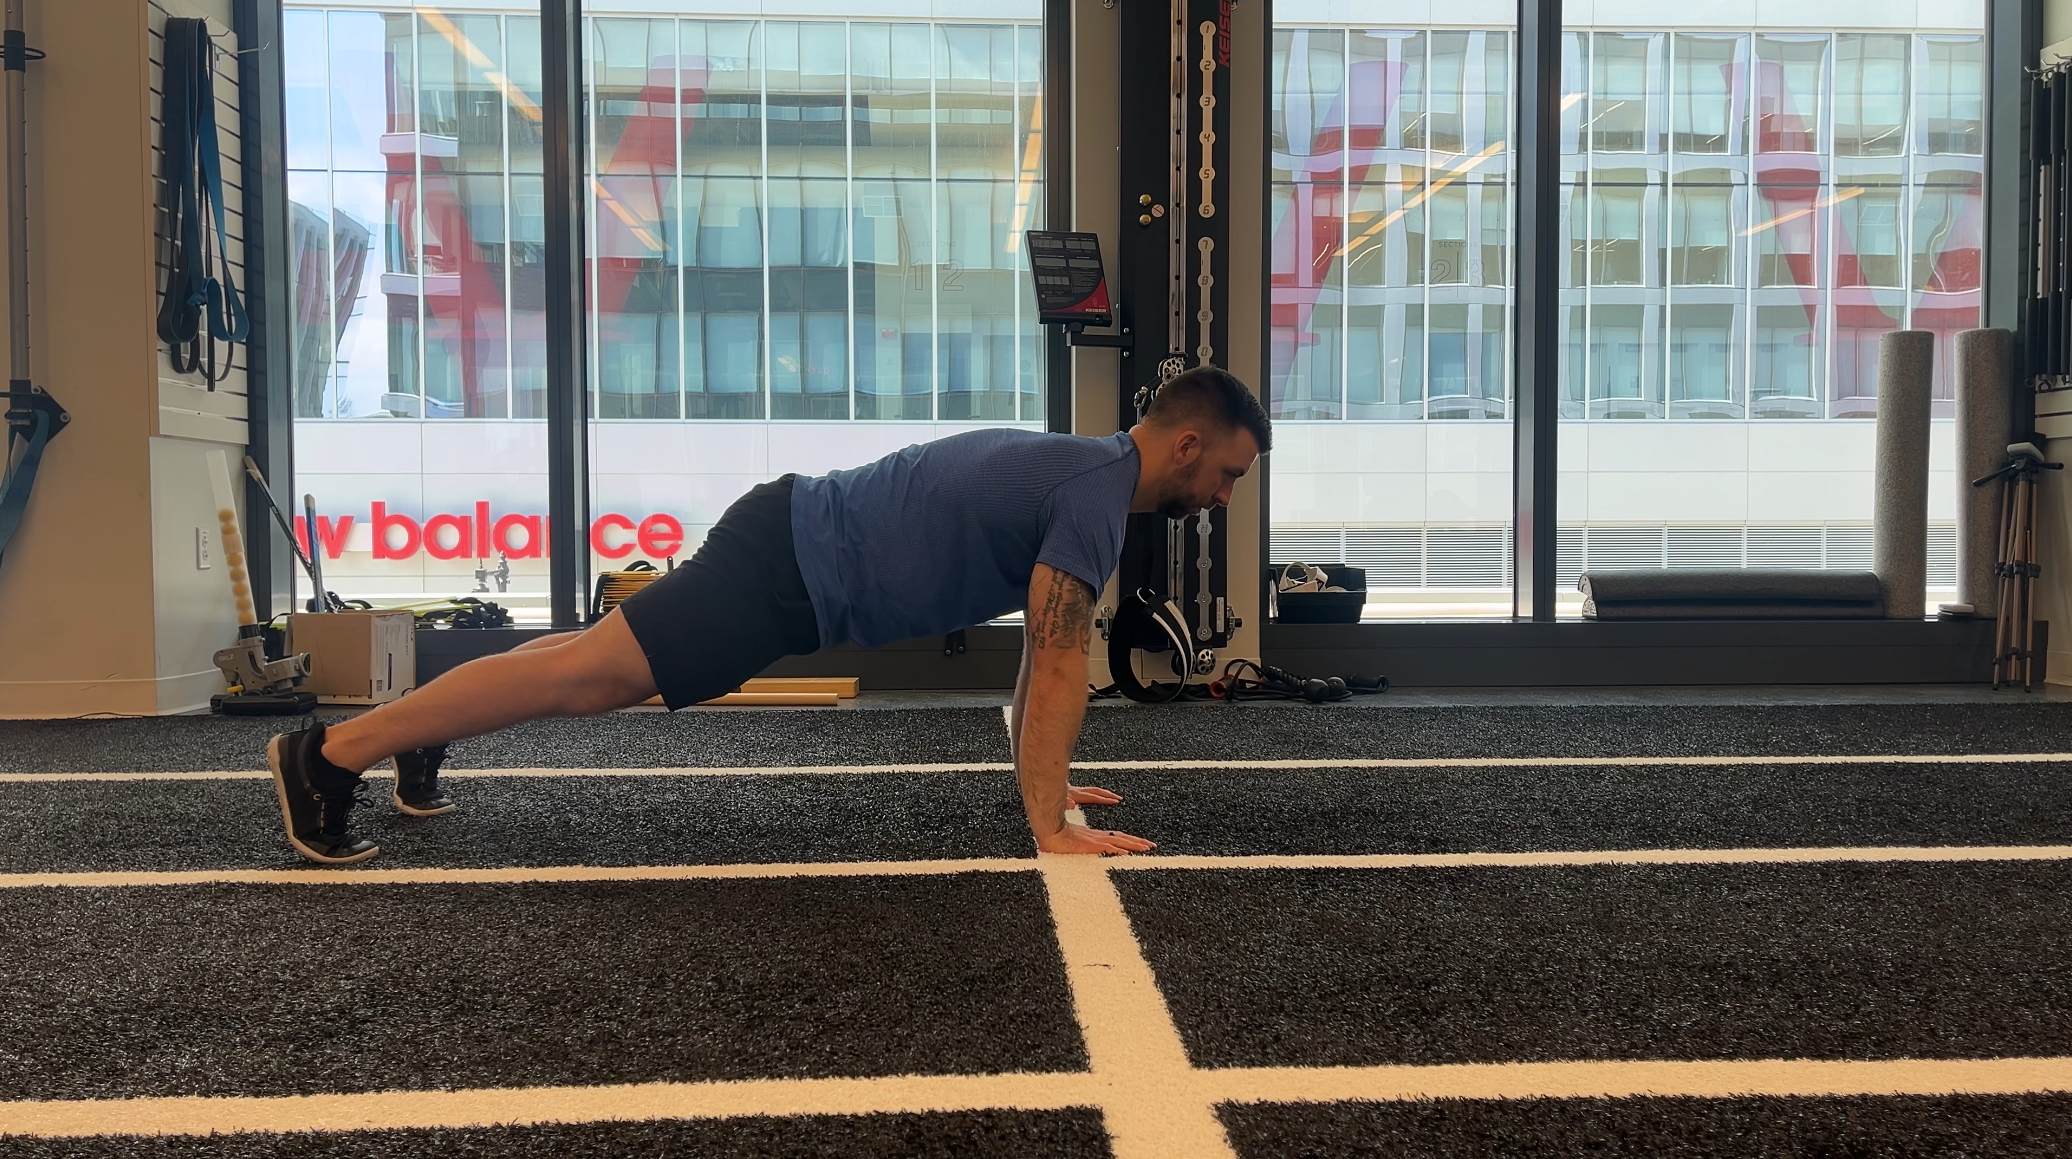
Pelvis is posteriorly tilted to a neutral position
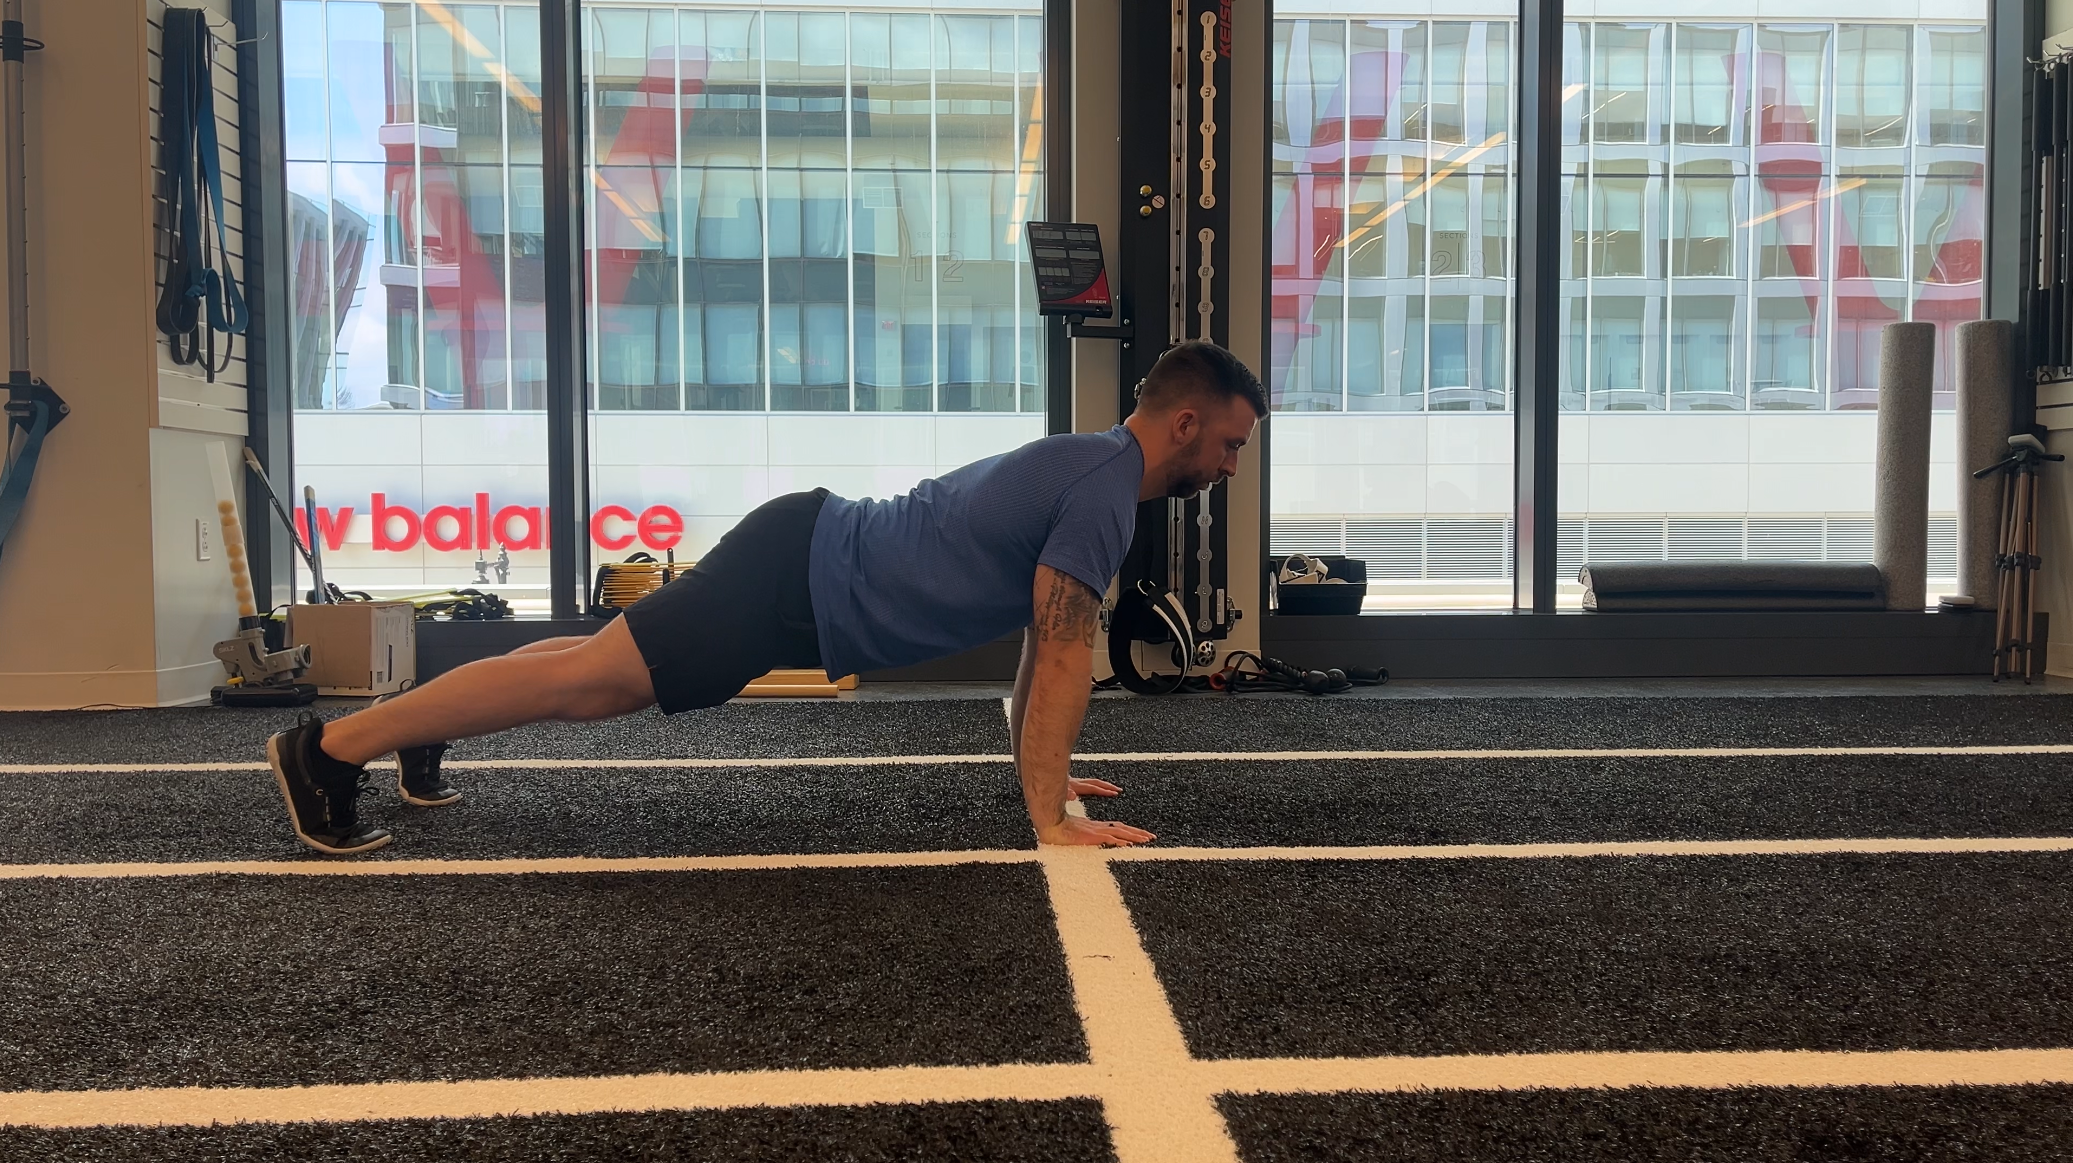
Pelvis in anteriorly tilted
So, a push-up should be thought of as a moving plank. The only parts that are moving? Your arms. Start by trying to posteriorly tilt the pelvis by using your hamstrings to pull down on the back side, and abs to pull up on the front side.
Now, just to be clear, we’re not looking for a rounded lower back, so don’t over-exaggerate this. This is just moving you from very lordotic to slightly lordotic. Remember, we want the natural curve of the spine there. To the eye, it might appear flat, but internally, you should be aiming for the slight lordosis.
Stabilizing the Scaps
Some people argue that upper body pressing movements like push-ups are superior to exercises like a bench press
To clarify, I believe both are important. Which is why they’re both included in our off-ice programs. We could link the programs here!
In a bench press, your scapulae are pinned against the bench, your thoracic spine is extended, and your arm moves independently. But in hockey—and just about every sport—your scapulae are free to move with your arm.
So exercises like push-ups, cable presses, or landmine presses may translate to the ice better because your scapula is free to move with your arm.
This is important because the scapula itself is concave, and if your thoracic spine is extended, that becomes a convex surface, and your scapula won’t sit flush. For it to have the most stability, the thoracic spine needs to have the natural kyphotic curve so there’s a lot of surface area touching between the two.
At the top of the push-up, you should be “reaching” through the floor, protracting the shoulder blades around the rib cage. This is often referred to as a “scap push-up,” but in reality, it’s just how every rep should finish.
This reaching action activates the serratus anterior, encouraging proper upward rotation of the scapula and enhancing the kyphotic curve of the thoracic spine. This allows for more stability and, in theory, more force output.
Arm Angle
The final piece is the arm path during the push-up. Many athletes still use a military-style push-up form with their elbows pinned to their sides. While this might help reduce fatigue to rep them out, it creates mechanical issues most players can’t handle.
Here’s the problem: When the elbows stay glued to the ribs, you’re demanding a ton of shoulder extension at the bottom of the rep. Most athletes simply don’t have that range of motion available. So the body cheats by gliding the humerus (upper arm bone) forward in the socket, stretching the front of the shoulder labrum.
This chronic stretching on the front of the labrum can lead to anterior laxity that can cause shoulder instability, subluxations, or bicep tendon irritation.
Instead, aim for a 45-degree angle from your torso as you lower. This position disperses load across all the muscles of your upper body and keeps the humerus centrated in the glenoid.
Final Thoughts
Push-ups are basic but aren’t easy. Done right, they help hockey players build functional strength that directly translates to the ice. Done wrong, they reinforce the exact patterns that lead to injury, compensation, and performance drop-offs. Dial in your form and start treating the push-up like the main upper body pressing movement it should be, not just an accessory.